If you enjoy bold, vibrant flavors in your cooking, pickled garlic is a must-have ingredient in your kitchen. This simple preparation transforms sharp raw garlic cloves into mellow, tangy, and slightly sweet bites that enhance everything from salads to charcuterie boards. Easy to prepare and surprisingly versatile, pickled garlic is one of those homemade staples that feels gourmet yet requires minimal effort.
In this complete guide, you’ll learn exactly how to make it, how it changes in flavor over time, storage tips, and the best ways to use it in everyday meals.
What Is Pickled Garlic?
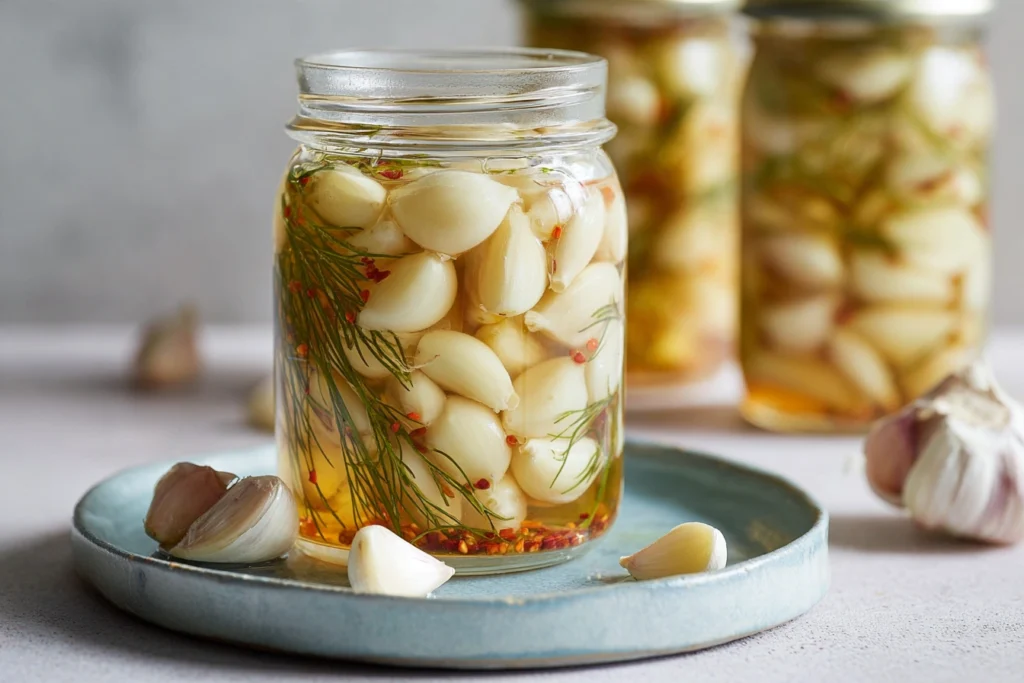
Pickled garlic is fresh garlic that has been preserved in a vinegar-based brine. The acidity softens the harsh bite of raw garlic while maintaining its aromatic depth. Instead of the intense spiciness that raw cloves can bring, the pickling process creates a smoother, tangier flavor that is easier to enjoy on its own.
During the pickling process, garlic absorbs the vinegar mixture and gradually becomes tender. After a few weeks, the cloves develop a balanced taste — still garlicky, but rounded and pleasantly sharp rather than overpowering.
Unlike fermented garlic, which depends on beneficial bacteria to develop over time, this method uses vinegar to safely preserve the cloves in the refrigerator.
Why You Should Make It at Home
Making pickled garlic yourself offers several advantages:
Longer Shelf Life
Fresh peeled garlic lasts only a short time before drying out or sprouting. Once preserved in vinegar, it can stay fresh for months when refrigerated properly.
Milder Flavor Profile
Many people find raw garlic too aggressive. Pickling reduces that intensity while keeping its signature aroma intact.
Versatility in Cooking
From appetizers to main dishes, this preserved ingredient adds brightness and depth without overwhelming a recipe.
Customizable Taste
You can easily adjust sweetness, acidity, and spice levels depending on your preference.
Classic Pickled Garlic Recipe
This traditional method is simple, reliable, and beginner-friendly.
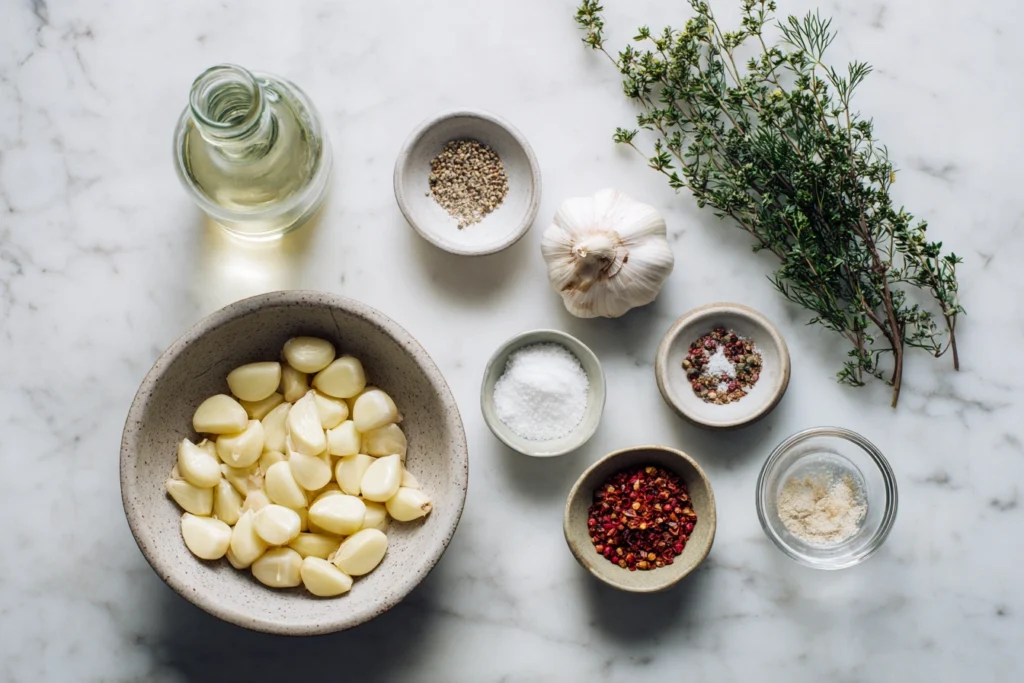
Ingredients
- 2 cups peeled garlic cloves
- 2 cups white vinegar
- 1 tablespoon kosher salt
- 1 teaspoon sugar (optional)
- ½ teaspoon red pepper flakes (optional)
- Fresh herbs such as dill (optional)
Step-by-Step Instructions
1. Prepare the Garlic
Peel the cloves carefully and remove any bruised pieces. Rinse lightly and dry thoroughly.
2. Heat the Brine
In a saucepan, combine vinegar, salt, and sugar. Bring to a gentle boil and stir until dissolved.
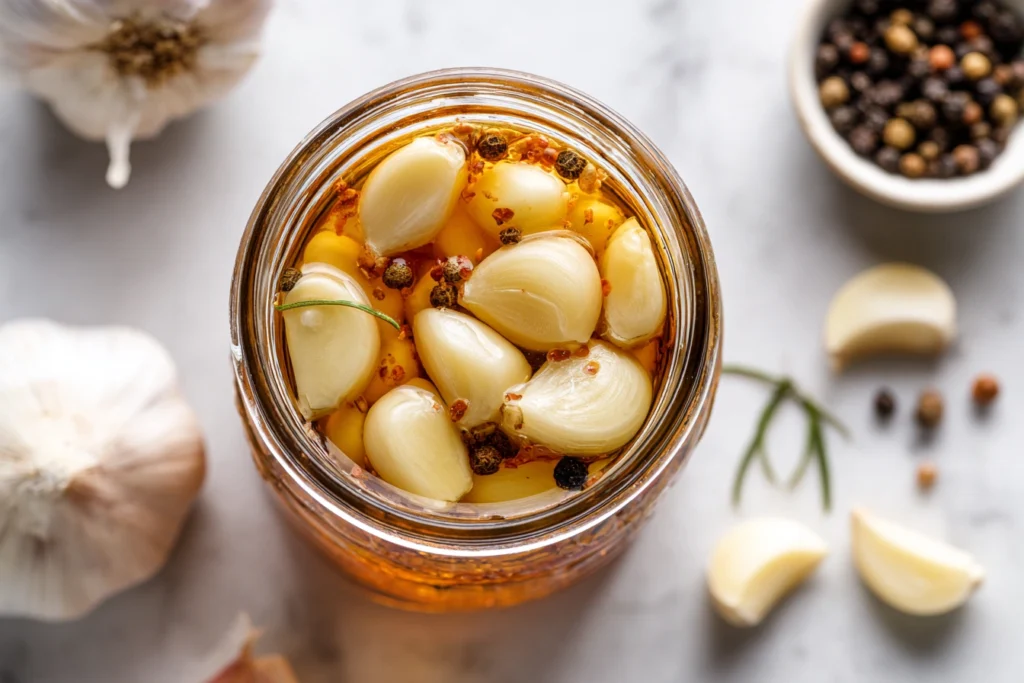
3. Fill the Jars
Place the cloves into sterilized glass jars. Add herbs or chili flakes if desired.
4. Pour the Brine
Carefully pour the hot liquid over the garlic, ensuring the cloves are completely submerged. Leave about half an inch of space at the top.

5. Cool and Refrigerate
Let the jars cool to room temperature before sealing. Store in the refrigerator for at least three weeks before tasting.
The flavor deepens and improves over time, making patience worthwhile.
How the Flavor Develops
In the first few days, the garlic will still taste relatively sharp. After two weeks, it begins to mellow noticeably. By the third or fourth week, pickled garlic becomes smooth, tangy, and pleasantly aromatic.
Occasionally, the cloves may turn slightly blue or green. This is a natural chemical reaction involving sulfur compounds and does not mean the batch is spoiled. As long as it smells fresh and remains refrigerated, it is safe to eat.
Flavor Variations to Try
One of the joys of preparing this recipe at home is experimentation. Here are a few variations:
Spicy Version
Add sliced jalapeños, whole peppercorns, or extra red pepper flakes.
Herb-Infused Style
Rosemary, thyme, oregano, or bay leaves give a Mediterranean touch.
Sweet and Tangy Twist
Use apple cider vinegar and increase sugar slightly for a softer flavor.
Savory Asian-Inspired Option
Add a splash of soy sauce and a pinch of sesame seeds for depth.
These small changes allow you to personalize your jar while keeping the essential character intact.
Creative Ways to Use It
Once your jar is ready, you’ll find endless ways to incorporate this ingredient into your cooking.
Cheese Boards
Whole cloves pair beautifully with aged cheeses, olives, and cured meats.
Salad Dressings
Finely chop and whisk into vinaigrettes for brightness.
Sandwiches and Wraps
Slice thinly and layer into grilled sandwiches for a tangy kick.
Pasta and Grain Bowls
Stir into warm dishes to add contrast and complexity.
Sauces and Dips
Blend into yogurt dips, hummus, or creamy spreads for subtle garlic flavor without harshness.
Because the cloves are already tender, they integrate smoothly into both cold and warm dishes.
Storage and Safety
Proper handling is essential when preparing pickled garlic.
- Always store in the refrigerator.
- Ensure cloves remain submerged in vinegar.
- Use clean utensils each time you remove some.
- Discard if you notice mold, unpleasant odor, or cloudiness.
Garlic preserved in oil at room temperature can be unsafe, so always use a vinegar-based method and keep it chilled.
The Science Behind the Transformation
Garlic contains sulfur compounds that create its pungent aroma. When exposed to acid, these compounds break down and soften. The vinegar environment also prevents harmful bacteria from developing.
The occasional color change happens when sulfur interacts with trace minerals. While it may look unusual, it does not affect taste or safety.
Understanding this simple chemistry helps explain why pickled garlic tastes milder yet still aromatic.
Nutritional Overview
Although the flavor profile changes, garlic retains many of its beneficial plant compounds. It remains low in calories and fat-free while adding bold taste to dishes without heavy sauces.
However, because it contains salt from the brine, moderation is advisable for individuals monitoring sodium intake.
Frequently Asked Questions
Is it healthy to eat pickled garlic?
Yes, pickled garlic can be a healthy addition to your diet. Garlic naturally contains antioxidants and beneficial plant compounds, and pickling preserves many of these properties. However, because it contains salt from the brine, it should be eaten in moderation, especially if you are monitoring sodium intake.
How to make pickled garlic?
To make pickled garlic, peel fresh garlic cloves and place them in sterilized jars. Heat vinegar with salt (and optional sugar or spices), then pour the hot brine over the cloves until fully submerged. Seal and refrigerate for at least three weeks before eating.
What happens to garlic when pickled?
When garlic is pickled, the vinegar softens its sharp, spicy flavor and makes the cloves more tender. The acidity reduces the harsh bite while keeping the garlic aroma. Sometimes the cloves may turn slightly blue or green due to a natural chemical reaction, but they remain safe to eat.
How long will pickled garlic keep?
Properly stored in the refrigerator and kept fully submerged in brine, pickled garlic can last up to four months. Always check for signs of spoilage before consuming.
Final Thoughts
Homemade pickled garlic is one of the simplest ways to elevate everyday cooking. With just vinegar, salt, and fresh cloves, you create a pantry ingredient that adds brightness and sophistication to countless dishes. The transformation from sharp raw garlic to tangy preserved cloves is both practical and satisfying.
Once you prepare your first jar, you may find yourself keeping it stocked year-round. Whether served on a cheese board, chopped into salads, or stirred into pasta, this versatile ingredient delivers bold flavor without overpowering your meals.
This guide is thoughtfully informed by expert culinary insights from trusted sources, helping ensure both flavor and technique are beautifully balanced.