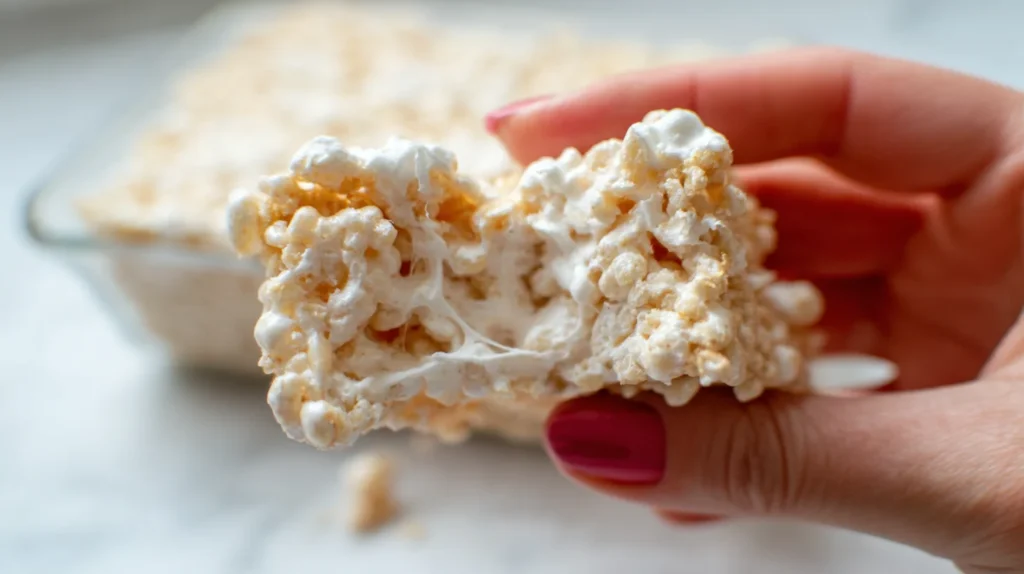
Rice Crispy Cakes Marshmallow Fluff (Easy 15-Minute Ultimate Gooey Recipe)
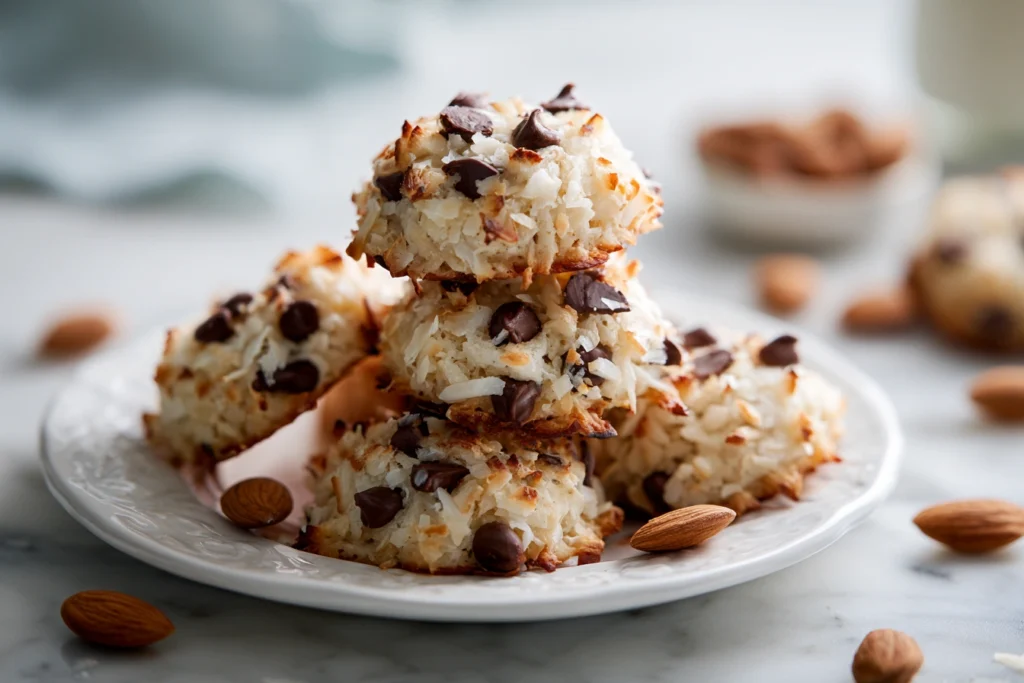
If you’re craving a quick and satisfying dessert, rice crispy cakes marshmallow fluff are the ultimate solution. These soft, chewy bars combine crispy rice cereal with a rich, creamy marshmallow base, creating a treat that is both nostalgic and irresistibly modern. Unlike traditional versions, rice crispy cakes marshmallow fluff use marshmallow fluff instead of whole marshmallows. This small change makes a big difference in texture, resulting in smoother, softer, and more evenly coated treats. Whether you’re preparing a dessert for guests or simply want a sweet snack at home, this recipe delivers consistent, delicious results every time. What Are Rice Crispy Cakes Marshmallow Fluff? Rice crispy cakes marshmallow fluff are a variation of the classic rice cereal dessert, made by combining crispy rice with melted butter and marshmallow fluff. The use of fluff creates a more velvety mixture that binds the cereal together effortlessly. The main advantage of rice crispy cakes marshmallow fluff is their texture. They remain soft and chewy longer than traditional recipes, making them ideal for preparing ahead or storing for later. This recipe has become popular because it simplifies the process while enhancing both taste and consistency. Why You’ll Love Rice Crispy Cakes Marshmallow Fluff There are many reasons why people love making rice crispy cakes marshmallow fluff at home: Another reason to choose rice crispy cakes marshmallow fluff is the reliability of the recipe. The marshmallow fluff melts smoothly, reducing the risk of uneven or hard textures. Ingredients for Rice Crispy Cakes Marshmallow Fluff To prepare perfect rice crispy cakes marshmallow fluff, you only need a few ingredients: Optional additions: These ingredients work together to create rich and flavorful rice crispy cakes marshmallow fluff with minimal effort. Step-by-Step Instructions Making rice crispy cakes marshmallow fluff is simple, but following each step carefully ensures the best outcome. Step 1: Prepare Your Pan Grease a rectangular baking dish to prevent sticking. Step 2: Measure the Cereal Place the cereal in a large bowl, ready for mixing. Step 3: Melt the Butter Melt the butter over low heat to avoid burning. Step 4: Add Marshmallow Fluff Stir the marshmallow fluff into the butter until smooth. This step is essential for achieving the creamy base of rice crispy cakes marshmallow fluff. Step 5: Add Vanilla Mix in the vanilla extract for enhanced flavor. Step 6: Combine with Cereal Pour the mixture over the cereal and stir quickly to coat evenly. Step 7: Transfer and Press Spread the mixture into the pan and gently press it down. Step 8: Let It Set Allow the mixture to cool before cutting into squares. Following these steps guarantees soft and delicious rice crispy cakes marshmallow fluff every time. Expert Tips for Best Results To make perfect rice crispy cakes marshmallow fluff, keep these tips in mind: Use Low Heat High heat can harden the mixture and ruin the texture. Work Quickly Once mixed, the mixture begins to set rapidly. Grease Everything Marshmallow fluff is sticky, so greasing tools makes handling easier. Press Gently Avoid pressing too hard to maintain a soft texture. Choose the Right Pan Thicker bars result from smaller pans. These simple tips help ensure your rice crispy cakes marshmallow fluff turn out perfectly soft and chewy. Creative Variations One of the best things about rice crispy cakes marshmallow fluff is how versatile they are. Chocolate Version Add chocolate chips or drizzle melted chocolate on top. Peanut Butter Twist Mix peanut butter into the marshmallow mixture. Birthday Style Add colorful sprinkles for a festive look. S’mores Version Include graham crackers and chocolate pieces. Extra Gooey Option Add mini marshmallows for additional softness. Each variation gives a new dimension to your rice crispy cakes marshmallow fluff. For a rich coconut-chocolate twist, you might also enjoy our Almond Joy cookies, a decadent treat that perfectly complements these gooey bars. Texture and Taste The texture of rice crispy cakes marshmallow fluff is what makes them special. They are: The marshmallow fluff creates a creamier consistency compared to traditional methods, making rice crispy cakes marshmallow fluff more enjoyable and easier to bite. If you love buttery pastries with a sweet crunch, our almond croissant cookies offer a refined and irresistible variation worth exploring. Storage Tips To keep your rice crispy cakes marshmallow fluff fresh: Avoid refrigeration, as it can make rice crispy cakes marshmallow fluff firm and less enjoyable. For a more luxurious and nutty experience, don’t miss our pistachio croissant, a beautifully crafted recipe that pairs wonderfully with soft dessert creations. Common Mistakes to Avoid Even simple recipes like rice crispy cakes marshmallow fluff can go wrong if you’re not careful. Overheating Leads to hard and dry treats. Slow Mixing Can result in uneven coating. Pressing Too Firmly Creates dense bars instead of light ones. Not Greasing Causes sticking and difficulty handling. Avoiding these mistakes ensures your rice crispy cakes marshmallow fluff are always perfect. Nutritional Overview Rice crispy cakes marshmallow fluff are a sweet indulgence. On average: They are best enjoyed as an occasional treat. Serving Ideas There are many ways to enjoy rice krispy cakes marshmallow fluff: Their versatility makes rice krispy cakes marshmallow fluff suitable for any occasion. Final Thoughts Rice krispy cakes marshmallow fluff are one of the easiest and most satisfying desserts you can make. Their soft texture, rich flavor, and quick preparation make them a favorite for both beginners and experienced home cooks. Once you try making rice krispy cakes marshmallow fluff, you’ll see how simple ingredients can create something truly delicious. Whether you keep them classic or experiment with variations, this recipe is guaranteed to become a staple in your kitchen.
Rice Crispy Cakes Marshmallow Fluff (Easy 15-Minute Ultimate Gooey Recipe) Read More »