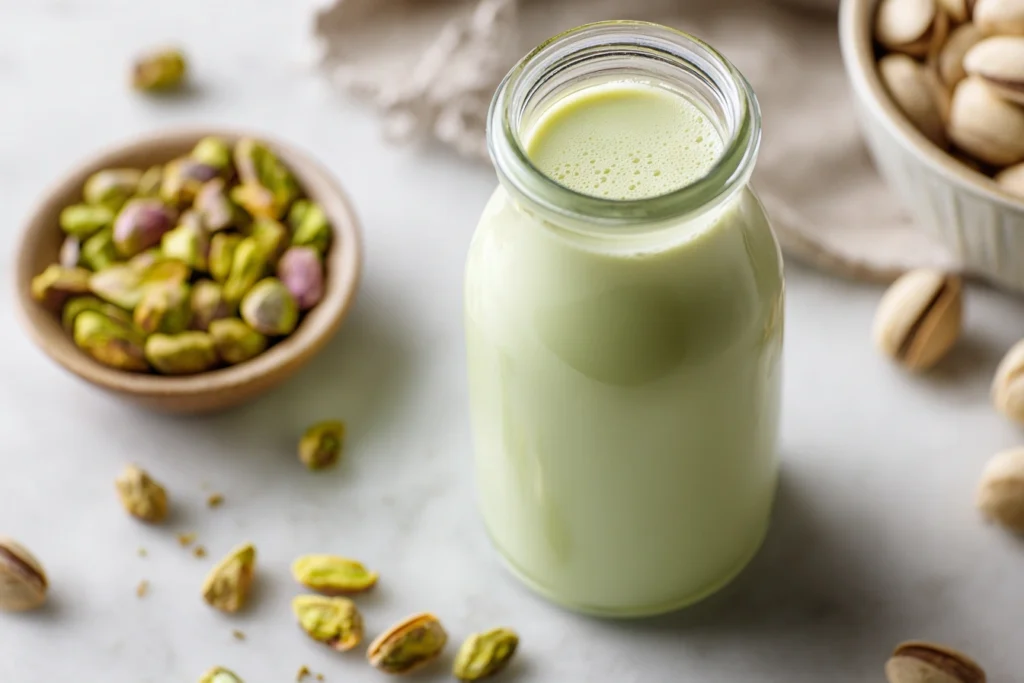
Pistachio Paste: How to Make a Smooth, Flavorful Homemade Version
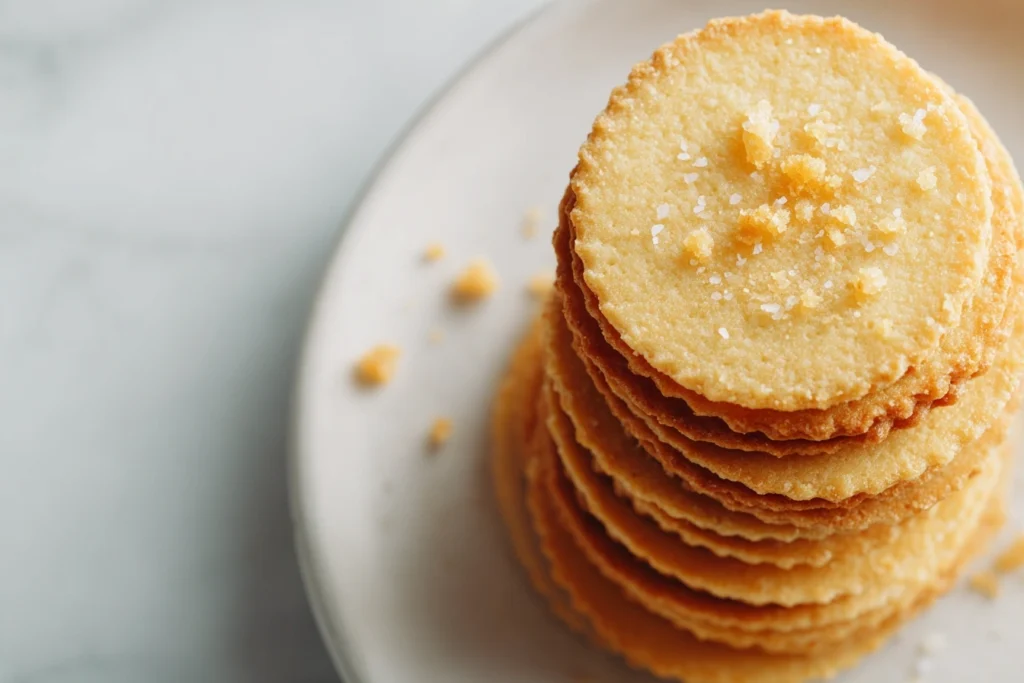
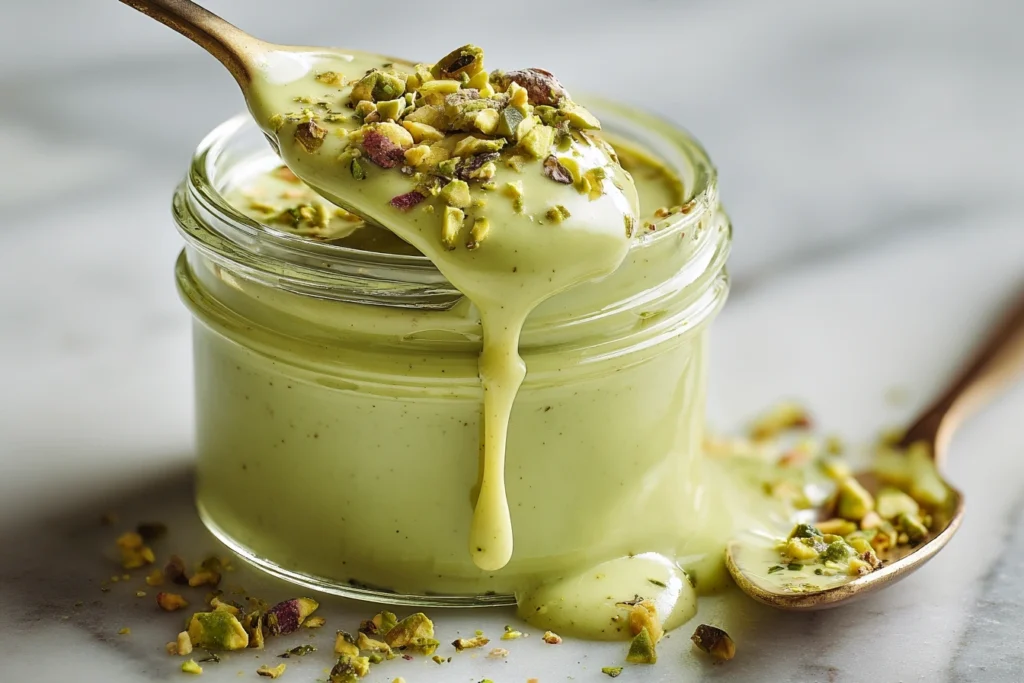
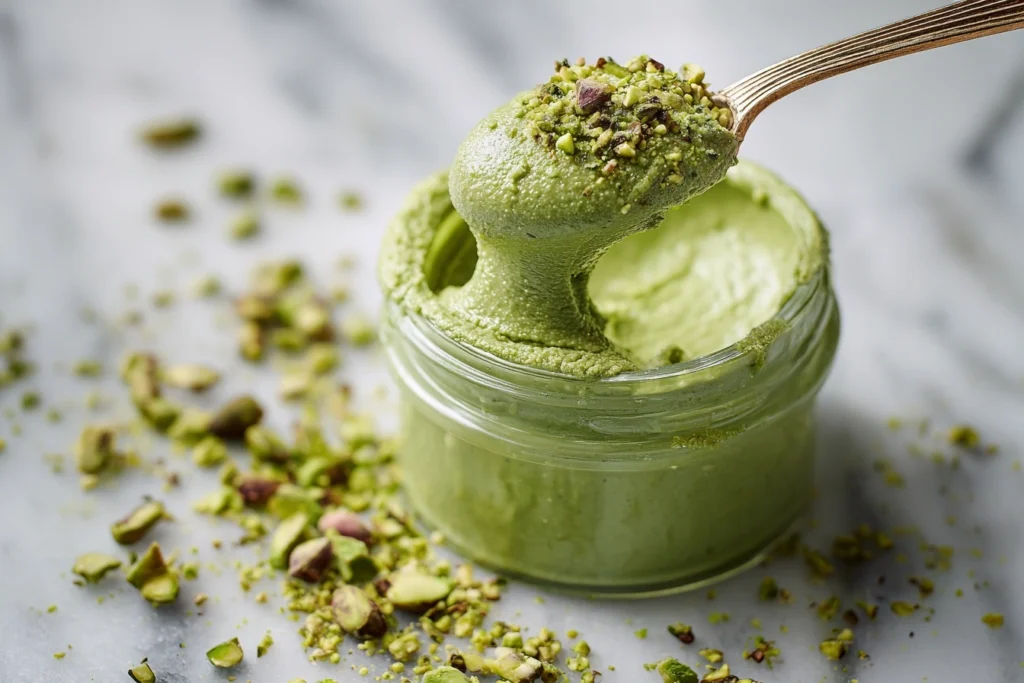
Pistachio paste is one of those ingredients that instantly elevates a recipe. Rich, nutty, naturally aromatic, and beautifully green, it adds depth to both sweet and savory creations. While it’s often associated with professional pastry kitchens, pistachios paste is surprisingly easy to make at home with just a few simple steps and high-quality pistachios. After making this recipe multiple times myself, I can confidently say that homemade pistachios paste tastes fresher, looks more vibrant, and gives you full control over texture and flavor. My Experience Making Pistachio Paste at Home The first time I made pistachios paste, I was looking for a pure, natural alternative to store-bought pistachio spreads. Many commercial versions contain added sugar, oils, or artificial coloring, which dulls the authentic pistachio flavor. When I tried making pistachio paste at home, I was surprised by how intense and clean the taste was. The aroma while blending was incredible, and the texture became smoother with patience. Since then, I’ve used this pistachios paste in desserts, creams, and even as a spread, and it has become a staple in my kitchen. Ingredients for Homemade Pistachios Paste One of the best things about pistachio paste is how simple the ingredient list is. You will need: Optional additions: That’s it. The quality of your pistachio Choosing the Best Pistachios For the best pistachio paste, use raw pistachios that are fresh and bright green. Avoid heavily roasted or salted pistachios, as they can darken the color and alter the flavor. If your pistachios still have skins, removing them will significantly improve both the color and smoothness of the final paste. Blanching the pistachios briefly and rubbing off the skins is worth the extra step if you want a professional-looking pistachio paste. How to Make Pistachios Paste Step by Step 1. Prepare the Pistachios If your pistachios have skins, blanch them briefly in hot water, drain, and rub them with a clean towel to loosen the skins. Allow them to dry completely before blending. Any moisture can interfere with the texture of the pistachios paste. 2. Blend the Pistachios Place the pistachios in a food processor. Start blending on medium to high speed. The pistachios will go through several stages: This process takes time. Stop occasionally to scrape down the sides of the bowl so everything blends evenly. 3. Be Patient with the Texture At first, the pistachio paste may seem too dry or crumbly. Continue blending. As the natural oils release, the mixture will gradually become smoother and creamier. If after several minutes the pistachio paste still feels too thick, add a very small amount of neutral oil, one teaspoon at a time. This helps the paste emulsify without diluting the flavor. 4. Adjust and Finish Once smooth, taste your pistachio paste. Add a pinch of salt if desired. Blend again briefly until fully incorporated. The final pistachio paste should be smooth, spreadable, and intensely aromatic. Common Mistakes to Avoid You Can Try Also Our Recipe Pistachio Sauce and Wafer Cookies How to Use Pistachios Paste Pistachios paste is incredibly versatile and can be used in many ways. In Desserts Pistachios paste is ideal for cakes, macarons, tarts, and pastries. It blends beautifully into pastry creams, mousses, and fillings, providing deep pistachio flavor without artificial additives. In Ice Cream and Gelato Homemade pistachios paste is perfect for frozen desserts. It gives ice cream a natural green color and a rich, authentic taste. In Frostings and Creams Mix pistachios paste into buttercream, whipped cream, or cream cheese frosting for an elegant, nutty twist. As a Spread Spread pistachios paste on toast, pancakes, or waffles. You can lightly sweeten it with honey if desired. In Savory Dishes Pistachios paste can also be used in sauces, pestos, or paired with yogurt for dips. Its earthy flavor works surprisingly well in savory recipes. How to Store Pistachio Paste Transfer your pistachios paste to an airtight container. Store it in the refrigerator for up to two weeks. For longer storage, freeze it in small portions. Pistachios paste freezes very well and can be thawed as needed. Natural oil separation may occur over time. Simply stir or re-blend before using. Why Homemade Pistachio Paste Is Worth It Making pistachios paste at home allows you to control every aspect of the recipe — flavor, texture, and purity. Compared to commercial versions, homemade pistachio paste is fresher, more aromatic, and free from unnecessary additives. From my own experience, once you try homemade pistachios paste, it’s hard to go back to store-bought options. The difference in taste and quality is immediately noticeable. Frequently Asked Questions Final Thoughts Pistachios paste is a simple yet powerful ingredient that can transform both everyday recipes and special desserts. With just pistachios, patience, and a good food processor, you can create a smooth, vibrant pistachio paste that rivals professional pastry products. Whether you use it in baking, frozen desserts, or as a spread, homemade pistachios paste is a recipe worth mastering. Once you make it, you’ll find endless ways to enjoy its rich flavor and natural elegance. This Recipe is based from this article in the link
Pistachio Paste: How to Make a Smooth, Flavorful Homemade Version Read More »