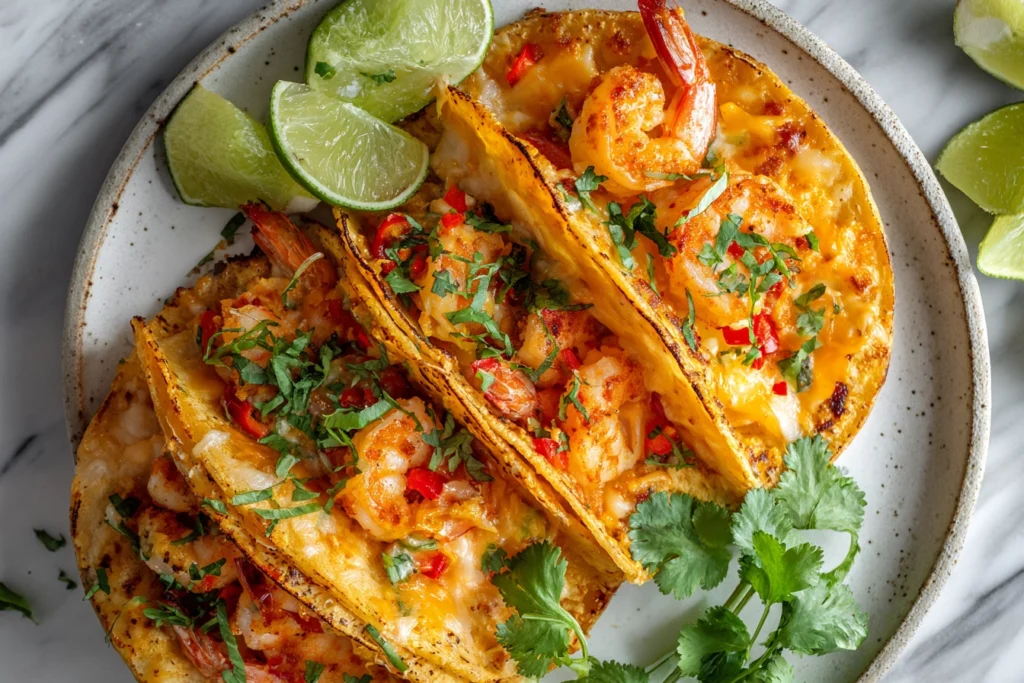
Tacos Gobernador Recipe: Authentic Mexican Shrimp & Melted Cheese Tacos
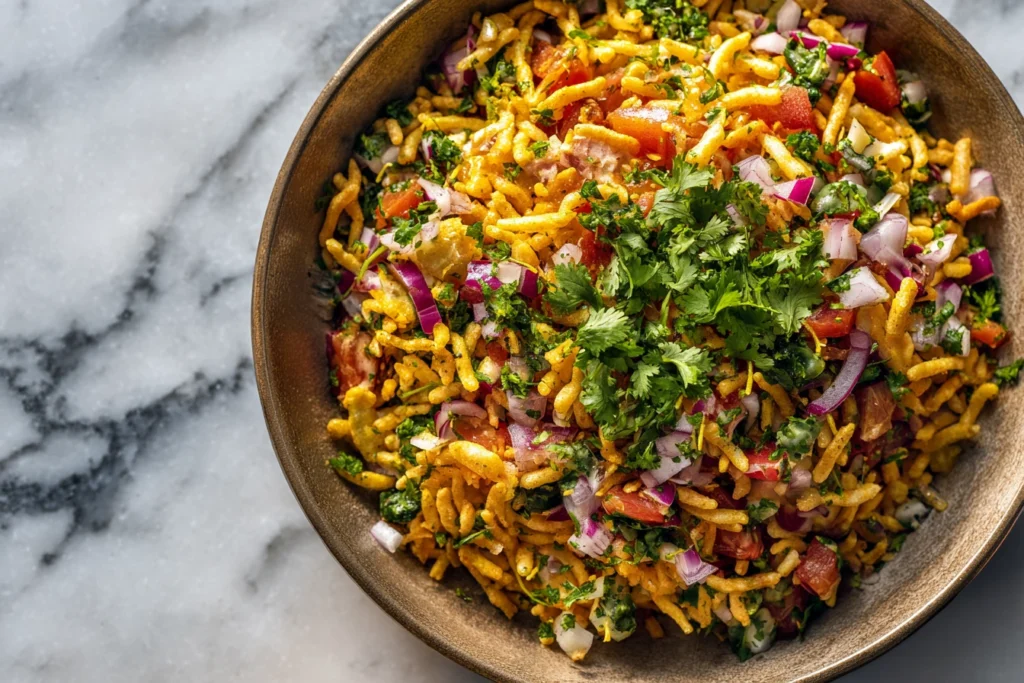
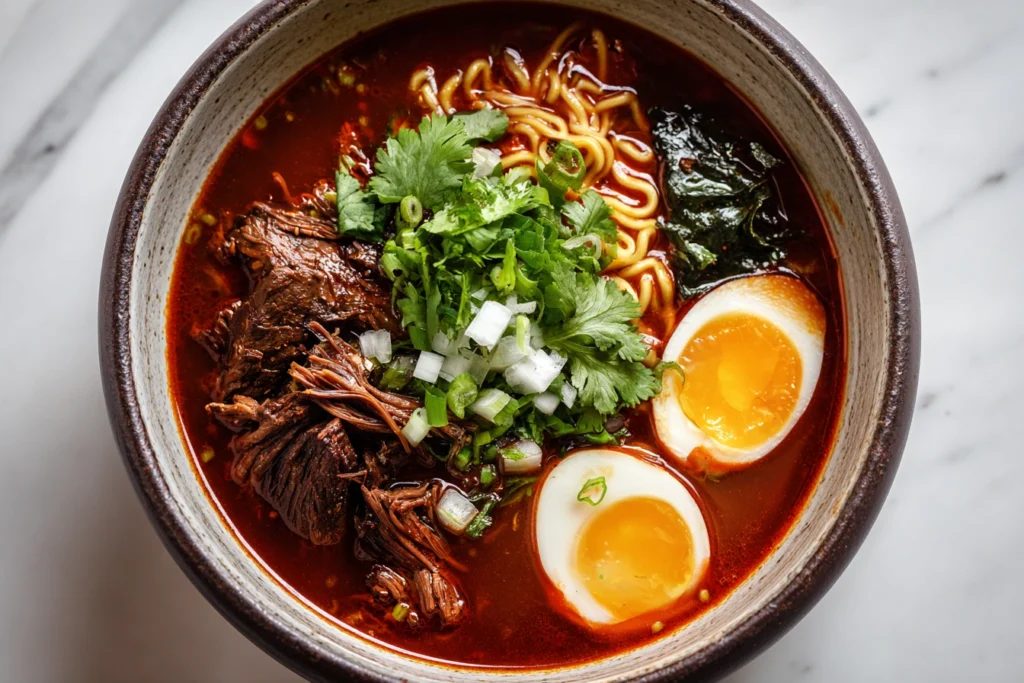
Tacos gobernador are one of Mexico’s most irresistible seafood tacos, known for their rich flavors, melty cheese, and perfectly seasoned shrimp. Originating from the coastal state of Sinaloa, these tacos beautifully reflect the region’s love for fresh seafood and bold yet balanced ingredients. Unlike many traditional tacos, tacos gobernador blur the line between taco and quesadilla, combining sautéed shrimp, peppers, tomatoes, and generous amounts of melted cheese inside warm corn tortillas. If you’ve never tried tacos gobernador before, imagine tender shrimp cooked with aromatic vegetables, folded into a lightly toasted tortilla where cheese melts and binds everything together. The result is comforting, indulgent, and deeply satisfying — a dish that feels both rustic and refined. Today, tacos gobernador are enjoyed not only along Mexico’s Pacific coast but also in Mexican restaurants and home kitchens around the world. This recipe guide will walk you through the history, ingredients, technique, and tips needed to make authentic tacos gobernador at home, while also helping you understand why this dish has become such a modern Mexican classic. The Origin of Tacos Gobernador Unlike ancient Mexican dishes rooted in pre-Hispanic traditions, tacos gobernador are a relatively modern creation. The dish was born in the 1990s in Mazatlán, a vibrant port city famous for its shrimp. According to culinary lore, a restaurant chef created this taco to honor a visiting governor who loved shrimp tacos. Wanting to impress him, the chef elevated the dish by adding sautéed peppers, tomatoes, and melted cheese — and thus, tacos gobernador were born. The name “gobernador” quickly stuck, and the taco became a symbol of coastal Mexican creativity. Today, tacos gobernador represent how regional Mexican cuisine evolves by respecting tradition while embracing innovation. What Makes Tacos Gobernador Special What truly sets tacos gobernador apart is their unique combination of ingredients and textures. In traditional Mexican cooking, seafood and cheese are not commonly paired, yet in this dish, the combination works beautifully. The sweetness of shrimp balances the richness of the cheese, while peppers and tomatoes add freshness and depth. Key characteristics of tacos gobernador include: Together, these elements create a taco that is creamy, savory, slightly smoky, and incredibly comforting. Ingredients for Tacos Gobernador (Serves 4–6) For the Shrimp Filling For Assembling the Tacos How to Make Tacos Gobernador 1. Prepare the Vegetables If using poblano peppers, roast them until the skin blisters and blackens. Let them steam briefly, peel off the skin, remove seeds if desired, and slice into thin strips. This step adds subtle smokiness to the tacos gobernador. Slice the onion thinly, mince the garlic, and dice the tomatoes. Having everything ready before cooking ensures the shrimp won’t overcook. 2. Sauté the Base Heat butter or oil in a large skillet over medium heat. Add the onion and cook until soft and translucent. Stir in the garlic and cook briefly until fragrant, being careful not to burn it. Add the roasted peppers and tomatoes. Cook for a few minutes until the vegetables soften and release their juices, forming a flavorful base for the shrimp. 3. Cook the Shrimp Add the chopped shrimp to the skillet. Season with salt, pepper, and any optional spices. Cook for 3–5 minutes, stirring gently, until the shrimp turn opaque and tender. Avoid overcooking, as shrimp can quickly become rubbery. Once done, remove the skillet from heat and set aside. 4. Warm the Tortillas Heat a dry skillet or griddle over medium heat. Warm each corn tortilla briefly until pliable but not crispy. This makes them easier to fold without breaking. 5. Assemble the Tacos Gobernador Place a tortilla in the skillet and sprinkle shredded cheese over one half. Allow the cheese to melt slightly, then spoon the shrimp mixture on top of the cheese. Fold the tortilla over, pressing gently with a spatula. Cook until the tortilla is lightly golden and the cheese is fully melted. Flip carefully if needed to toast both sides. Repeat with remaining tortillas. 6. Serve Immediately Serve tacos gobernador hot, garnished with fresh cilantro and lime wedges. A squeeze of lime just before eating brightens the flavors and balances the richness of the cheese. For bold, smoky flavors, you may also enjoy our authentic discada recipe, a hearty dish that celebrates rich spices and slow-cooked tradition. Serving Ideas and Pairings Tacos gobernador are filling enough to be a main dish, but they pair wonderfully with simple sides: Because tacos gobernador are rich, lighter accompaniments help keep the meal balanced. If you’re craving something lighter and refreshing, our vibrant bhel puri offers a perfect contrast with its crisp textures and bright flavors. Tips for Perfect Tacos Gobernador For lovers of comforting fusion dishes, don’t miss our birria ramen, where deep, savory broth meets irresistible noodle comfort. Variations You Can Try While shrimp is the most popular protein, tacos gobernador can be adapted: Each variation keeps the spirit of tacos gobernador while allowing flexibility. Why Tacos Gobernador Are So Popular The popularity of tacos gobernador comes from their universal appeal. They are familiar enough to feel comforting, yet unique enough to feel special. The combination of shrimp and cheese surprises many people — and quickly wins them over. Tacos gobernador also showcase the brilliance of Mexican coastal cuisine, where fresh seafood meets thoughtful seasoning and simple techniques. They are proof that great food doesn’t need to be complicated — it just needs balance. Frequently Asked Questions Final Thoughts Tacos gobernador are more than just shrimp tacos with cheese. They are a celebration of regional Mexican creativity, a reminder that culinary traditions continue to evolve, and a perfect example of how simple ingredients can create extraordinary flavor. Whether you’re cooking for family, hosting friends, or adding a new recipe to your food blog, tacos gobernador deserve a place at your table. Once you try them, they may quickly become one of your favorite taco recipes — rich, comforting, and unforgettable. This article is informed by respected culinary sources and classic interpretations, which helped shape the techniques and flavor balance
Tacos Gobernador Recipe: Authentic Mexican Shrimp & Melted Cheese Tacos Read More »