Homemade Pistachio Butter (Creamy, Easy & Naturally Sweet)
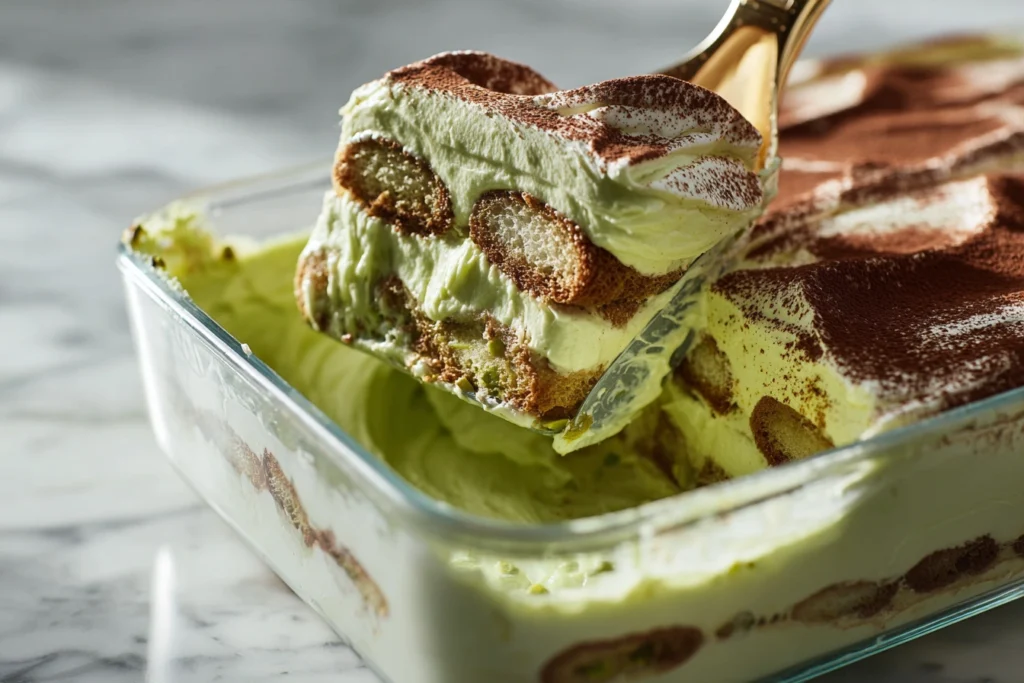
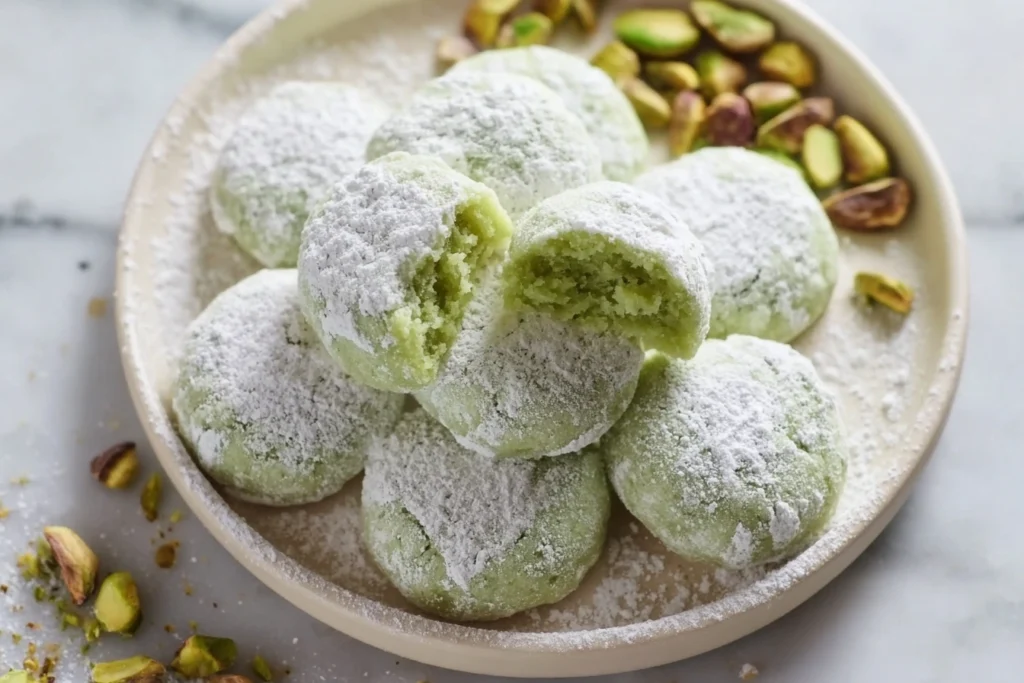
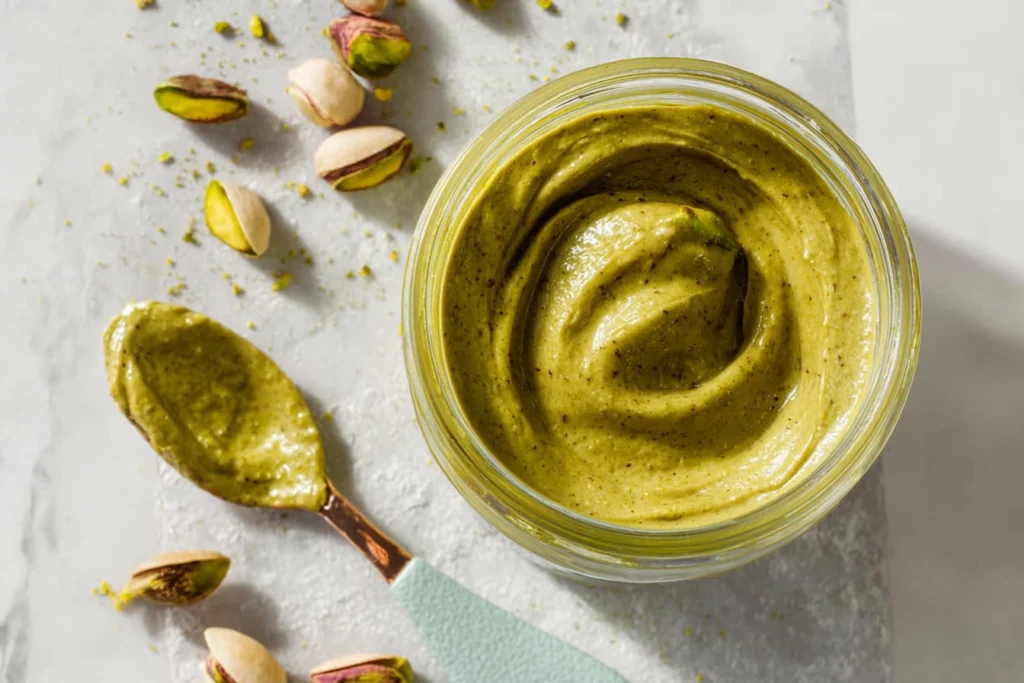
If you are looking for a rich, naturally sweet, and beautifully green nut spread, pistachio butter may quickly become your new favorite pantry staple. Smooth, luxurious, and surprisingly easy to prepare, this vibrant spread offers a refined alternative to traditional peanut or almond varieties. Homemade pistachio butter captures the pure flavor of roasted pistachios without unnecessary additives. Whether you spread it on toast, swirl it into desserts, or incorporate it into savory dishes, it brings depth, creaminess, and elegance to everyday meals. In this complete guide, you will learn how to make it from scratch, how to customize it, and the best ways to use it in your kitchen. What Is Pistachio Butter? At its simplest, pistachio butter is made by blending pistachios until they release their natural oils and transform into a smooth paste. The process is similar to making peanut or almond butter, but the flavor profile is distinctly more delicate and slightly sweet. The natural oils inside pistachios create a creamy consistency without the need for added fats. When blended properly, the result is a silky, spreadable texture with a subtle roasted aroma and a beautiful green hue. Because it contains only nuts and optional seasoning, pistachio butter is considered one of the purest forms of nut spreads you can prepare at home. Why Make It at Home? Store-bought versions often include added oils, sweeteners, or stabilizers. Preparing your own pistachio butter gives you full control over flavor and texture. Homemade versions offer: Most importantly, the taste of freshly blended pistachios is far superior to processed alternatives. Ingredients You’ll Need The beauty of this recipe lies in its simplicity. Basic Ingredients: Optional Additions: High-quality pistachios are essential. Fresh, bright green nuts produce the most flavorful pistachio butter. Step-by-Step: How to Make Pistachio Butter Making pistachio butter requires only a food processor and a little patience. Step 1: Roast the Pistachios Preheat your oven to 350°F (175°C). Spread the pistachios evenly on a baking sheet. Roast for 8–10 minutes until fragrant. Roasting enhances flavor and helps the nuts release their oils more easily during blending. Allow them to cool slightly before processing. Step 2: Blend Transfer the roasted pistachios into a food processor. You will notice several stages: This process can take 5–10 minutes depending on your machine. Pause occasionally to scrape down the sides. If the mixture remains too thick, add a small amount of neutral oil. Step 3: Season and Adjust Add salt and blend briefly. Taste and adjust seasoning. For a sweeter version, add honey or maple syrup and blend again. This creates a slightly dessert-style pistachio butter ideal for breakfast spreads. Step 4: Store Properly Transfer to an airtight glass jar. If refrigerated, allow it to soften slightly before spreading. Texture Options You can personalize your pistachio butter based on preference: Because pistachios naturally contain healthy oils, the final texture depends largely on blending time. For a delicate, melt-in-your-mouth treat, explore our Pistachio Wedding Cookies — a refined dessert that beautifully highlights the nut’s natural sweetness. Delicious Ways to Use Pistachio Butter One reason pistachio butter has become increasingly popular is its versatility. Breakfast Ideas Craving something buttery and flaky? Our Pistachio Croissant transforms classic pastry into a luxurious experience with its luscious pistachio filling. Its mild sweetness pairs beautifully with fruit, honey, and dark chocolate. Snack Pairings These simple combinations highlight the natural flavor of the nuts. Baking Applications Adding pistachio butter to baked goods enhances richness and moisture. Try incorporating it into: Because it contains natural fat, it adds tenderness without needing extra butter. If you love the rich flavor of this spread, you’ll adore our Pistachio Tiramisu, where creamy layers meet the unmistakable depth of pistachio in every bite. Savory Dishes While often associated with sweets, pistachio butter works well in savory preparations. Its subtle nutty depth complements lemon, herbs, garlic, and roasted vegetables. Nutritional Benefits Pistachios are naturally rich in: As a result, pistachio butter provides sustained energy and promotes satiety. The combination of fat and protein makes it satisfying in small portions. However, because it is calorie-dense, moderation is important. Common Mistakes to Avoid To achieve perfectly smooth pistachio butter, avoid these errors: Patience is key. The mixture may look dry before it turns creamy — keep blending. Flavor Variations to Try Once you master the classic version, experiment with creative twists: These variations transform a simple spread into something gourmet. Is Pistachio Butter Healthy? Yes, when consumed in reasonable portions. Because it contains healthy fats and protein, pistachio butter supports energy levels and can help reduce cravings. It is naturally free from artificial additives when homemade. Compared to heavily sweetened spreads, it offers a more nutrient-dense alternative. Why It Deserves a Place in Your Kitchen Few spreads offer the same balance of elegance, nutrition, and versatility. Pistachio butter works for breakfast, snacks, baking, and even savory dishes. Its naturally vibrant color makes dishes visually appealing, while its creamy consistency adds indulgence without heaviness. Preparing it at home ensures purity and freshness that cannot be replicated by commercial versions. Final Thoughts Homemade pistachio butter is simple, luxurious, and endlessly adaptable. With only a handful of ingredients and a food processor, you can create a smooth, nutrient-rich spread that enhances everything from toast to desserts. Whether you prefer it lightly salted, slightly sweetened, or ultra-smooth, this vibrant green spread brings depth and refinement to everyday cooking. Once you taste freshly blended pistachios transformed into creamy perfection, you may never look at ordinary nut spreads the same way again. This guide is inspired by insights from trusted culinary sources, including this detailed pistachio butter recipe at The Mediterranean Dish, which beautifully highlights the art of blending nuts into a silky spread.
Homemade Pistachio Butter (Creamy, Easy & Naturally Sweet) Read More »